
I like to learn new things all the time and this bicycle bottom bracket issue has more to it than one may expect. I ride cheap bikes for exercise in contrast to the higher-end road and racing competitive bikes. There are many arguments to be found online on this topic, so I just do what works for me. I also like to tinker with things (electrical, technological, programmatic, and mechanical).
I have to say that I’ve put 10x more miles on my pedal-bikes than I put on my motorcycle each year (sort of sad for the motorcycle). If you don’t mind buying some tools and getting your hands dirty, working on these cheaper bikes isn’t too bad and not that expensive.
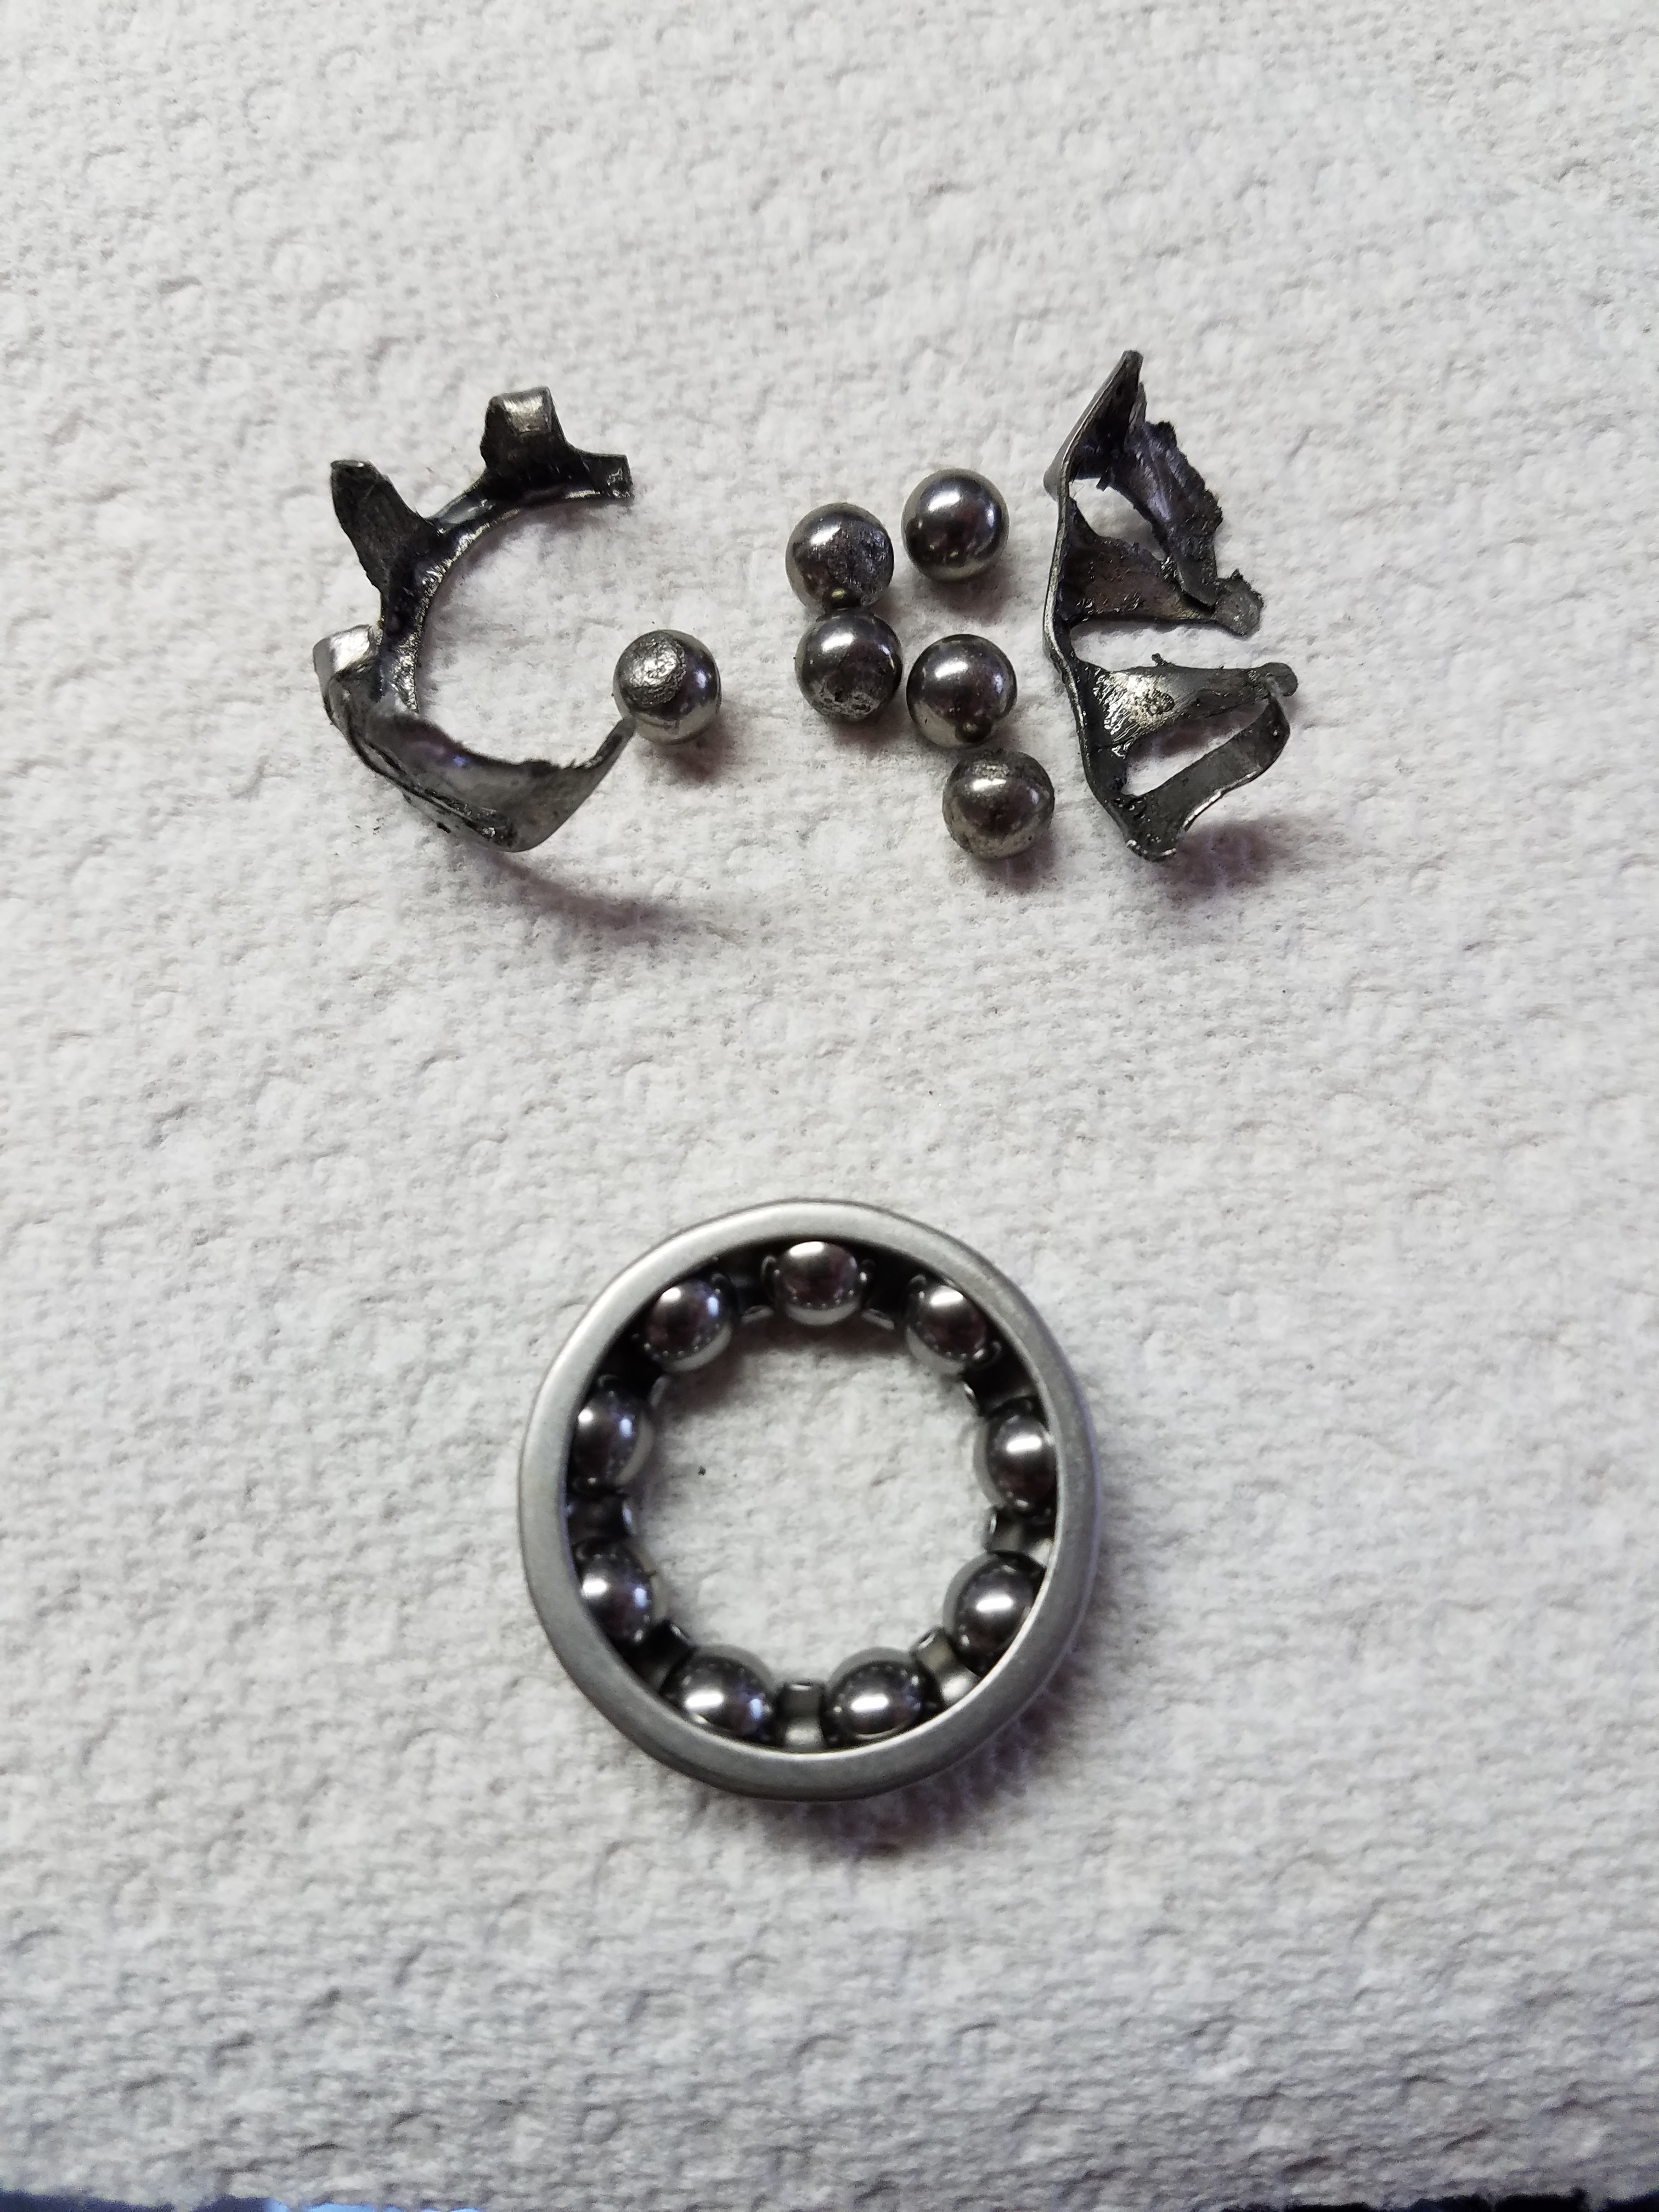
When I pulled the bottom bracket apart today I was greeted with several little pieces of metal falling out. Below you can see what kind of shape the drive-side bearing was in compared to how it looked when new. It was a mess. Of course, the axle is a little rough now as well, so I’ve placed an order for one of those ($9-12 depending on shipping).
To add to the complexity statement earlier, there are many variations of bottom brackets out there, and after some research I was able to identify my particular axle (3N). This Sheldon Brown site was super helpful.
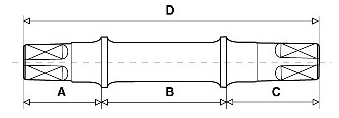
Searching Amazon returns more than 20k results for “bottom bracket”, so having some understanding of what you need helps to narrow the results. I learned I have a 68mm shell (British standard), which also means the drive-side is left-hand threaded, and my axle is a Size: 3N, 32.0 x 52 x 36.0 x 120mm. Apparently, getting this too far off can mess with your chain alignment, which makes sense, so if you make alterations on the front, be prepared to adjust other places as well.
Anyway, it was a good day to learn and I’m just waiting on parts now. Reassembly should be fairly easy.
Leave a Reply